






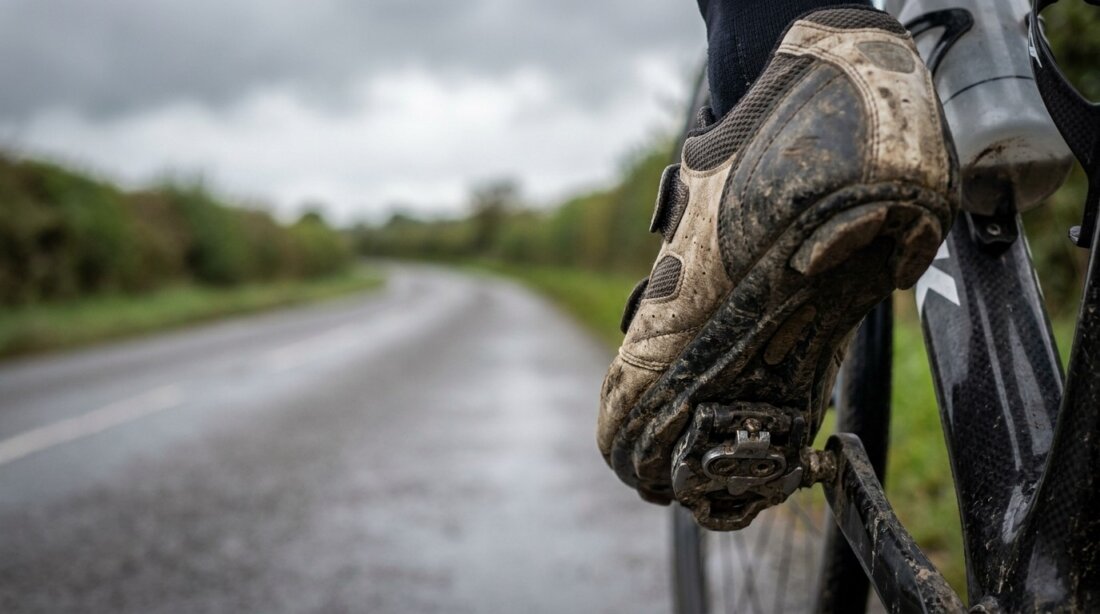
From Cycling to Running: Why Millimeters Matter More Than Watts

08.07.2026
5 min. read
For months you watch watts, training zones and intervals. Then two millimeters on the bike shift your run more than the next hard session. Newer triathlon research puts the lever on cleat and saddle: one centimeter on the cleat and five millimeters on the saddle can decide how fresh you hit the run leg.
 Quick Sprint
- ▸Not more watts, but millimeters at cleat and saddle change how fresh you come off the bike into the run.
- ▸Cleat back about one centimeter, saddle down five millimeters: that’s how the most striking trial on this ran.
- ▸A calmer upper body and lower perceived exertion when running right after the bike leg.
- ▸The sample was small, but the effect was clear and consistent with other studies.
- ▸You can test this in a single weekend, without buying new gear.
Why watts fool you on the transition
You know this moment during brick training. You clip out, rack the bike, and the first steps feel like someone shifted your upper body. The quick explanation: not enough base, not enough watts. So you push the next build phase further out. That’s exactly where the thinking goes wrong.
Your calf does two very different jobs on the bike and on the run. On the pedal it pushes, on the run it springs. If your cleat sits far forward under the ball of the foot, as the classic bike fit prescribes, the same muscle group works flat out the whole bike leg that you need for springing off afterward. The transition turns leaden, no matter how fit you are. Related to this is the question of how much your training sensor data actually reveals about your position in the first place.
What Seven Triathletes Showed in the Lab
The strongest evidence comes from a sensor study with seven recreational triathletes, on average in their early forties and logging roughly nine hours of training per week. The researchers compared two positions: the standard cleat under the first metatarsal versus a posterior variant, where the cleat shifts about one centimeter back toward the midfoot. To offset the effectively shortened leg length this created, they lowered the saddle by five millimeters.
What they measured was what happens after cycling: an accelerometer on the lower back captured how much the upper body sways during running, alongside perceived exertion on the Borg scale and the five-kilometer split after twenty kilometers on the bike. For a group this small, the result stood out. With the posterior cleat, upper-body sway dropped significantly, perceived exertion fell and the runs straight off the bike were faster.
Which 4 Adjustments Matter?
The setup fits into a weekend: an Allen key, a mark on the shoe and a bit of patience are enough. Four points matter.
- Move the cleat back. The goal is a position toward the midfoot rather than strictly under the ball of the foot. This takes load off the calf and leaves it fresher for running.
- Lower the saddle by the length you lose. When the cleat moves back, the lever to the pedal shortens. Five millimeters lower brings the riding position back into balance.
- Only one change per session. Adjust both at once alongside a new saddle and afterward you won’t know what actually worked. One parameter, one test.
- Check it in brick training, not on the trainer alone. The effect shows up in the transition. Ride, dismount, run straight away. Everything else is theory.
The table below makes the direct comparison between the two positions clearer.
| Feature | Standard Cleat | Cleat Moved Back |
|---|---|---|
| Position | under the ball of the foot | toward the midfoot |
| Calf load on the bike | high | reduced |
| Upper body during the run-off | unsteady | steadier |
| Saddle height | unchanged | five millimeters lower |
How to Test Your Position Over the Weekend
Set aside a weekend where you can do two brick runs. The process is simple, honestly almost boring, but that is exactly the point.
- Day one, baseline: Ride your usual position, run five minutes easy off the bike, note how you feel and your pulse in the first minutes.
- Between the days: Slide both cleats back a few millimeters and lower the saddle by five millimeters. Measure carefully so left and right match.
- Day two, test: Same bike session, same brick run. Watch your upper body and how quickly your legs find their rhythm.
I was surprised myself at how much easier the second transition felt, even though everything looked the same on paper. Not a miracle effect, but a noticeable one.
Where the Study Falls Short
Staying honest matters here. Seven subjects is a small group. The sensor on the back also measures upper-body movement, not your oxygen consumption directly. Other research, for instance on rearward cleat position in sprint triathlon, points in the same direction, but a single millimeter value cannot be turned into a law from that. If you already have solid bike fitting and no issues with the transition, there is no need to change anything.
Still, two things stand out about this approach. First, it targets a spot that many athletes completely ignore because they put all their attention on performance and training volume. Second, it is reversible: if the position does not work, you turn the two screws back and you are exactly where you started, without losing anything. The approach pays off especially when your running consistently starts sluggish after the bike. Then the test costs you little and can deliver a noticeable gain. This kind of small, free lever is exactly what I find underrated in endurance sports, because it does not feel as exciting as a new bike.
Cool-down
Click a question to expand the answer.
Does this help if I only run and don’t cycle?
Do I lose cycling power because of the position?
How far back should the cleat go?
Will I notice the difference right away?
Do I need a professional bike fitting for this?
Challenge Roth 2026: Laidlow runs a world best time →Triathlon’s world elite in Quiberon: what you can learn from the pros →Training data: Coros, Wahoo, and Garmin’s data wall →Velocity-based training: what the sensor method really delivers →Tour de France in Barcelona: the heat lesson for summer training →

Editorial Team, IBS Publishing ››
Image source: AI-generated (July 2026)