






Via Ferrata for Beginners: Safely Tackling Your First Iron Path

5 Min. Read
An iron ladder, a steel cable, a hundred metres of air beneath your boots. Via ferratas make rock faces accessible to anyone who would otherwise need years of climbing training to attempt them. That is precisely their appeal – and their trap: it looks like hiking with a helmet, but this is alpine terrain with its own set of rules. Know those rules and you unlock one of the most rewarding entries into vertical adventure. Ignore them and you put yourself in serious danger. It all comes down to preparation.
 Quick Sprint
- ▸ A via ferrata is secured rock terrain, not a challenging hiking trail – even if it often looks like one.
- ▸ The three essentials are a via ferrata set, a harness, and a helmet – everything else is comfort.
- ▸ For beginners, stick to grades A and B – leave the grade C routes for later.
- ▸ The golden rule of safety: never unclip both carabiners at the same time.
Why a Via Ferrata Is Not a Hiking Trail
I’ll admit it: the first time, I underestimated the difference. A via ferrata – Italian for “iron path” – is a route through steep rock terrain secured with a continuous steel cable and iron fixtures such as staples, steps, and ladders. The cable is your lifeline; you clip into it with your via ferrata set. It sounds simple, and that’s exactly the point: it lowers the barrier to entry far enough that terrain becomes manageable which, without these aids, would be pure climbing.

That very accessibility is what tempts people into carelessness. It feels at first like a blend of hiking and climbing – but the risks are fully alpine. Rockfall, sudden weather changes, exhaustion on the wall, and exposed sections where a single mistake won’t be forgiven. Keep that in mind and you’ll approach it with the right respect, without psyching yourself out.
The reward is enormous. After a few hours you’re standing at a point you could never have reached on foot, and the path there is one continuous, physical experience. For many people, via ferrata is the bridge between hiking and true mountain sport. All you need is the right setup and an honest assessment of your own abilities.
The Gear That Actually Matters
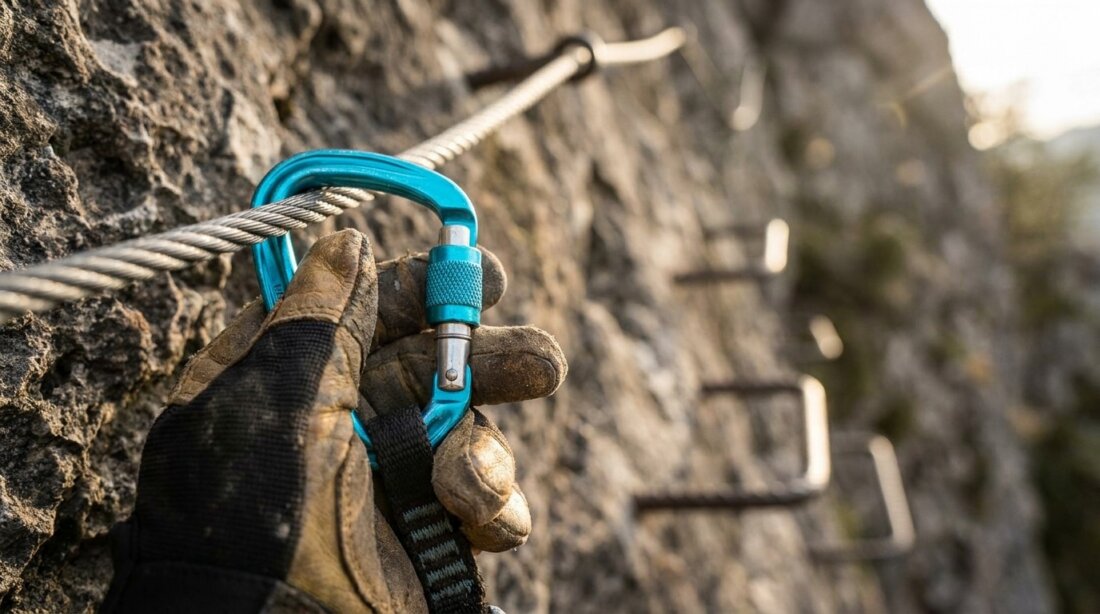
When it comes to equipment, there’s little room for compromise – and rightly so. The centrepiece is the via ferrata set: an energy-absorbing lanyard with two elastic arms in a Y configuration, each ending in a large via ferrata carabiner. If you fall, the lanyard tears open in a controlled way to arrest the fall, rather than letting the full impact hit your body. When buying, make absolutely sure the set complies with the current standard EN 958 in its 2017 edition. Older sets can deploy differently on lighter individuals.
Add to that a climbing harness – into which the set is clipped – and a helmet. Nobody who has ever heard a rock fall skips the helmet. It protects against rockfall from climbers ahead of you and against striking the rock face if you slip. Good gloves save your hands from being shredded on the steel cable, and sturdy approach shoes or mountain boots with solid grip are non-negotiable. Everything beyond that is comfort, not a safety factor.
A word of honesty about renting: for your first attempts, a rented set is perfectly fine, as long as it’s modern and inspected. Anyone who sticks with the sport quickly buys their own, because familiar gear gives you confidence on the rock. But start with rented, quality kit rather than bought, outdated equipment.
How to tackle your first Via Ferrata
The most important technical rule first, because it can be a matter of life and death: as you move forward, you always clip on alternately – never both carabiners at the same time. One always stays on the cable while the other advances past the next anchor. That way you are secured at every single moment. Hold on to the steel cable or the iron rungs, not to the set itself. Falling on a via ferrata is not part of the plan; your gear is the safety net, not the strategy.
Falling on a via ferrata is not supposed to happen – the whole point of the equipment is that it never comes to that.
When choosing a route, start small. A short Grade A or B route with a straightforward approach is the ideal introduction; a Grade C route has no business being on a true beginner’s list. Plan the length, the crux sections, the approach and descent, and check the weather beforehand. Out on the rock, you want no surprises. Keep your distance from other climbers too – one climber per protection section on flatter terrain, two on steeper ground, since a falling climber can slide a good distance further down.
And the most honest piece of advice anyone can give you: if you’re unsure, tackle your first route with a mountain guide or sign up for a course. That is not an admission of weakness – it is the fastest way to build solid, safe technique. In just a few hours you will learn the moves, the pace, and the feel for exposed terrain that would otherwise take you an entire season to figure out on your own. After that, the vertical world is yours.
Cool-down
Click a question to reveal the answer.
Do I need climbing experience for a via ferrata?
What do the letters A through F mean?
Can I rent the gear for starters?
What should I do if the weather turns?

Editorial IBS Publishing ››
Bouldering for Beginners: Technique Beats Strength →Dead Hang: Why This Exercise Is Becoming the Calisthenics Scene’s Favourite Workout →Cold Plunge: When Ice Bathing Aids Recovery – and When It Holds You Back →Stand-Up Paddling: The Underrated Full-Body Workout →Mastering for Vinyl: Why the Record Sounds Different from the Stream [InspiredByBeatz]→
Image source: Cover image and article images AI-generated (June 2026), C2PA certificate embedded in image