






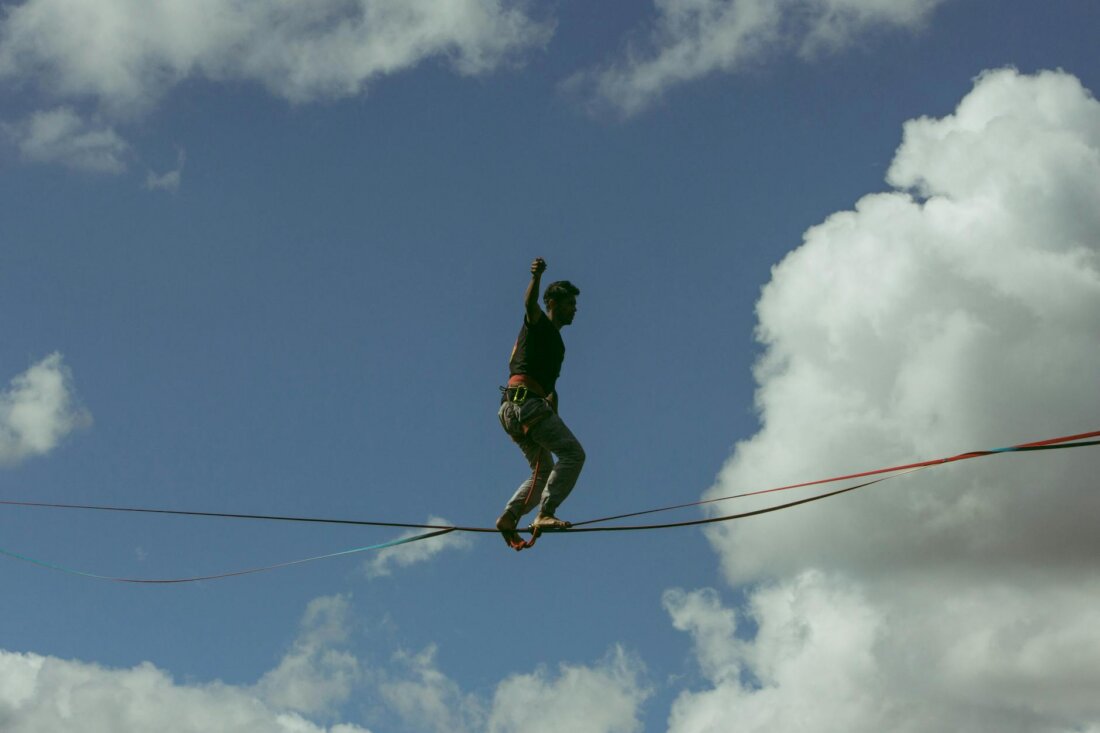
Learning Slacklining: From the First Wobble to a Steady Stance

08.06.2026
6 min. read
Five centimetres wide, fifteen metres long, strung between two trees. That’s all it takes to fall off forty times on your first slackline afternoon. Completely normal. Slacklining doesn’t click on day one – and that’s exactly what makes it such effective balance training for the park. This guide takes you from buying a set to your first freestanding moment.
 Quick Sprint
- ▸ Beginner set: 15 metres long, 5 centimetres wide, complete kit with tree protection from around 35 euros. Wider is easier to stand on; shorter means less wobble.
- ▸ Stand first, walk second: Step on with one foot, fix your gaze on a stationary point, hold for five seconds – before you even think about taking a step.
- ▸ Tree protection is mandatory, not optional. Without the padding you’ll damage the bark – and in many parks that counts as vandalism.
- ▸ Training effect: One study found that regular slackliners hold a plank roughly 45 percent longer. The transfer to other balance tasks, however, is smaller than most people expect.
- ▸ Frustration peaks early, then fades fast. Most people stand freely after three or four sessions. Stick with it and the first steps will follow.
What do you need for your first line?
Slacklining means balancing on a flat, tensioned webbing that gives slightly under your body weight instead of staying taut like a wire rope. That give is what makes slacklining demanding: your foot has to constantly make micro-corrections. The good news first: slacklining is an affordable way into outdoor sport. All you need is a line, a ratchet, two tree protectors, and two solid anchor points. You’ll find the latter in any park with a few healthy trees – ideally three to five metres apart to start. The shorter you rig the line, the calmer it sits.
When it comes to the set itself, one simple rule applies: wider and shorter is more beginner-friendly. A 5-centimetre-wide line can be tensioned tighter and gives your foot more surface to stand on than the narrow 2.5-centimetre lines that experienced slackliners use for tricks. 15 metres total length is a solid compromise: short enough to tension smoothly, long enough to build up more distance later. Look for a TÜV or GS certification, because the ratchet carries several hundred kilograms of tensile load when the line is rigged.
| Set type | Length & width | Price | Who it’s for |
|---|---|---|---|
| Basic complete set | 15 m / 5 cm | from approx. 35 Euro | First try, occasional park sessions |
| Brand set (e.g. Gibbon Classic) | approx. 12.5 m / 5 cm | approx. 60 to 90 Euro | Those who train regularly and want durability |
| Longline-capable webbing | 25 m+ / 2.5 to 3.5 cm | from approx. 90 Euro | Later on, for distance and dynamic movement |
There are no shortcuts when it comes to tree protection. The wide padding distributes the pressure and prevents the line from cutting into the bark. Without it, you permanently damage the tree – which is exactly why slacklining without protectors is banned in some parks. Anyone who works as close to their environment as practitioners of parkour precision jumps will recognise the principle: respect your surroundings first, then focus on the movement.
Stand still for 5 seconds first, then walk
The most common beginner mistake happens in the first minute: stepping on and immediately wanting to move. The line sways, you flail, you fall. Slacklining is learned in reverse, from standing to walking. Before you take a single step, the only goal is to stay balanced on one foot without moving.
Fix your gaze, not your feet
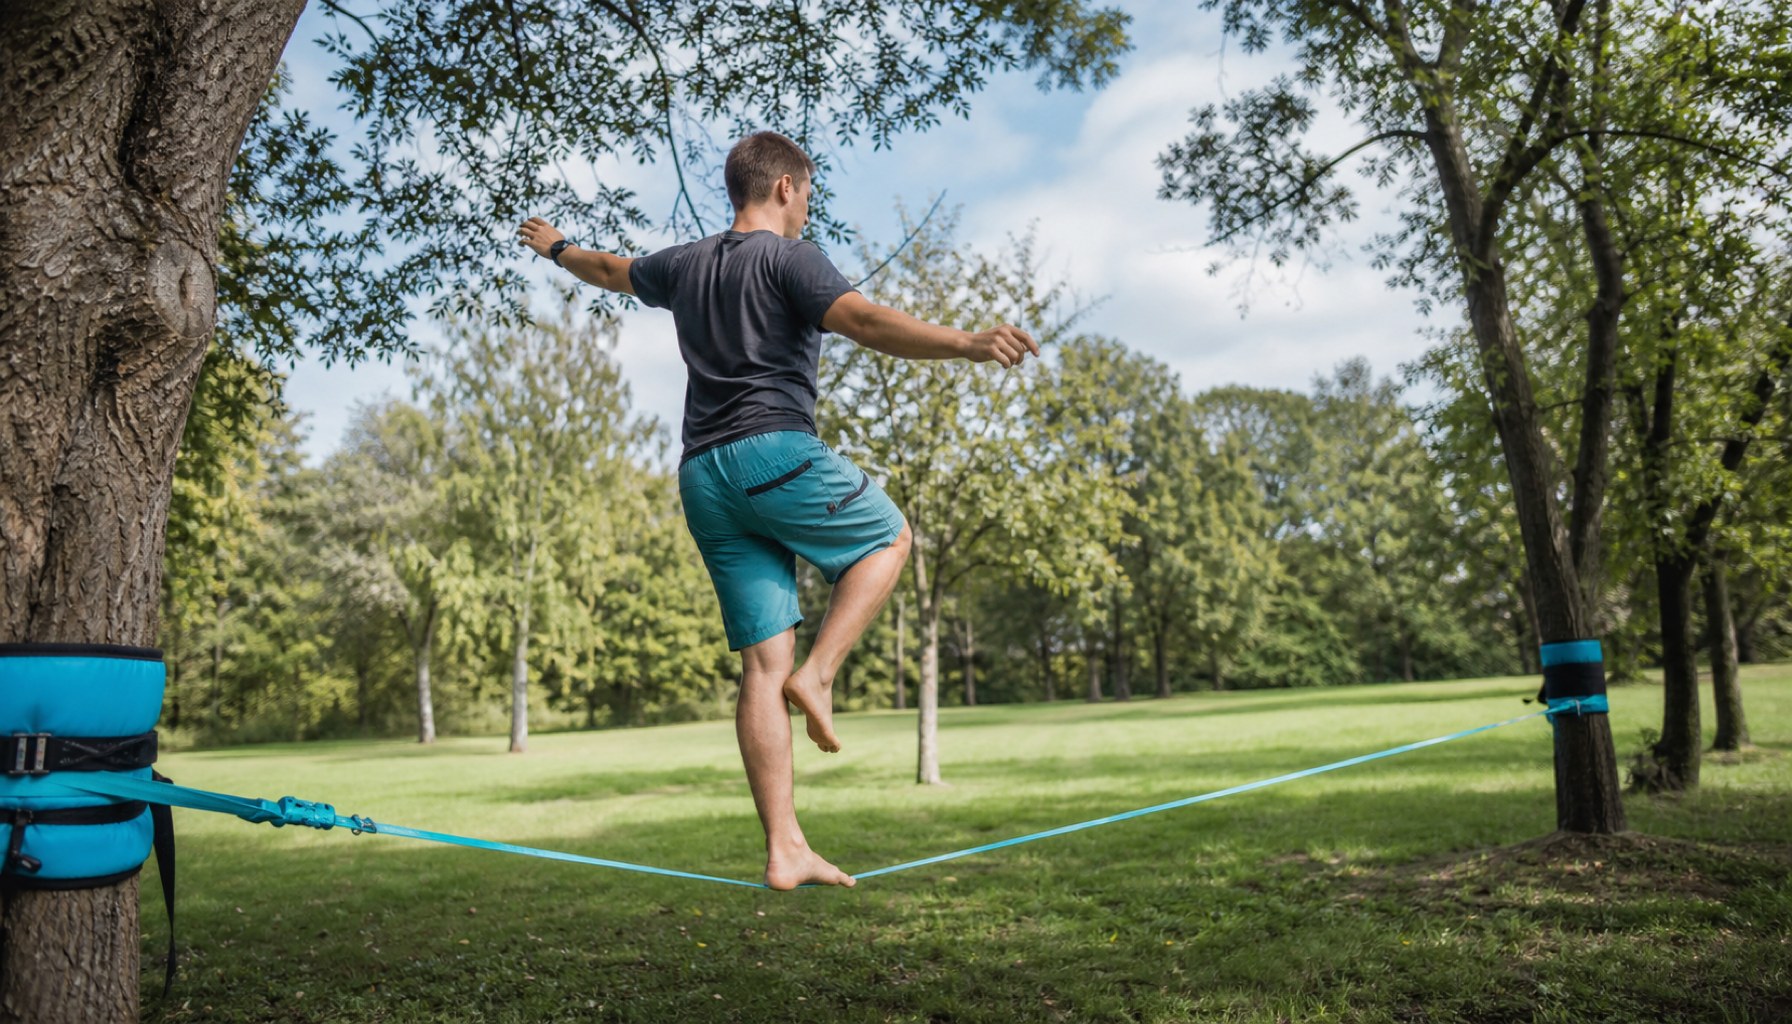
Pick a fixed point at the far end of the line – a tree, a sign, anything at eye level. Looking down at your feet destroys your spatial orientation. Your balance system works through your eyes, not against them.
Step up on one foot and hold
Step onto the center of the line with your stronger foot; your second foot stays in the air for now. The goal is not walking – it’s standing still for five to ten seconds. The line will shake, your calf will burn. That’s exactly the deep stabilizer muscles doing their job.
Raise your arms and let them swing
Your arms belong above shoulder height, slightly bent, and they should actively compensate. Stiff arms pinned to your sides are the second most common mistake. Imagine you’re balancing a pole you don’t have. The swinging motion is not a loss of control – it is the control.
Only then: your first step
Once you can stand freely, bring your second foot forward slowly and place it in front of the first. Short steps, shift your weight deliberately, briefly stabilize between each one. Nobody walks the full line on day one. Three meters of free standing is a bigger win than ten stumbling steps.
What surprises many people: the balance ability you develop on the line does not transfer one-to-one to other sports. It is remarkably specific. That said, you are simultaneously training exactly the structures that underpin almost every sport – from ankle stability to reactive core tension. Where slacklining genuinely helps and where it hits its limits is what this honest comparison shows.
- + Strong activation of deep core and foot muscles
- + Trains proprioception and rapid correction reflexes
- + Affordable, can be set up anywhere, no gym required
- + Social: you rarely stand alone at the line in the park for long
- − Transfer to other balance tasks is limited
- − The first sessions are frustrating – many people quit right there
- − You need two solid anchor points at the right distance apart
- − Without tree protection you risk damage to the bark and trouble with park authorities
What Slacklining Really Does for Your Training
Here’s where it gets interesting, because sports science gives a nuanced answer. Muscle activity measurements show that simply standing on the webbing already strongly activates the deep core muscles. A 2021 study on core endurance published in sports science found that regular practitioners held a plank roughly 45 percent longer and achieved a nearly 38 percent greater distance on dynamic balance tasks compared to inactive control subjects.
Now for the caveat that honestly belongs here. The Institute for Sport and Sports Science at the University of Freiburg investigated whether balance ability transfers from the webbing to other tasks – and the result is sobering: balance is highly task-specific. Someone who is good at slacklining is primarily good at slacklining. The blanket claim that the webbing will make you a better surfer or skier simply does not hold up to the evidence.
Does that mean slacklining is just play? No. It only means you need to frame the effect correctly. As specific training for core tension, foot strength, and reactive stabilisation, the webbing is excellent – and it is genuinely fun, which is the best adherence guarantee there is. Anyone wanting to supplement their work on body tension will find it pairs well with the static stimulus of dead-hang training or the movement control developed through bouldering. Three stimuli, one shared foundation: your body learns to position itself precisely in space.
Cool-down
Click on a question to expand the answer.
How long does it take until I can stand freely?
Do I absolutely need trees?
Is slacklining dangerous for your joints?
Does slacklining actually make me better at other sports?
Which set for your very first attempt?
Bouldering for Beginners: Technique Beats Strength →

IBS Publishing Editorial ››
Dead Hang: The Calisthenics Scene’s New Favourite Workout →
Parkour Basics: Precision Jumps as a Fitness Workout →
Bouldering Psychology: How Hard Moves Rewire Your Brain →
Mountain Bike Trail Technique: Vision, Braking, Cornering →
Cover image source: Pexels / Elisa Triviño (px:13776712)
Translated from the German original using artificial intelligence. The German version is authoritative.
Images in article: AI-generated (May 2026)