






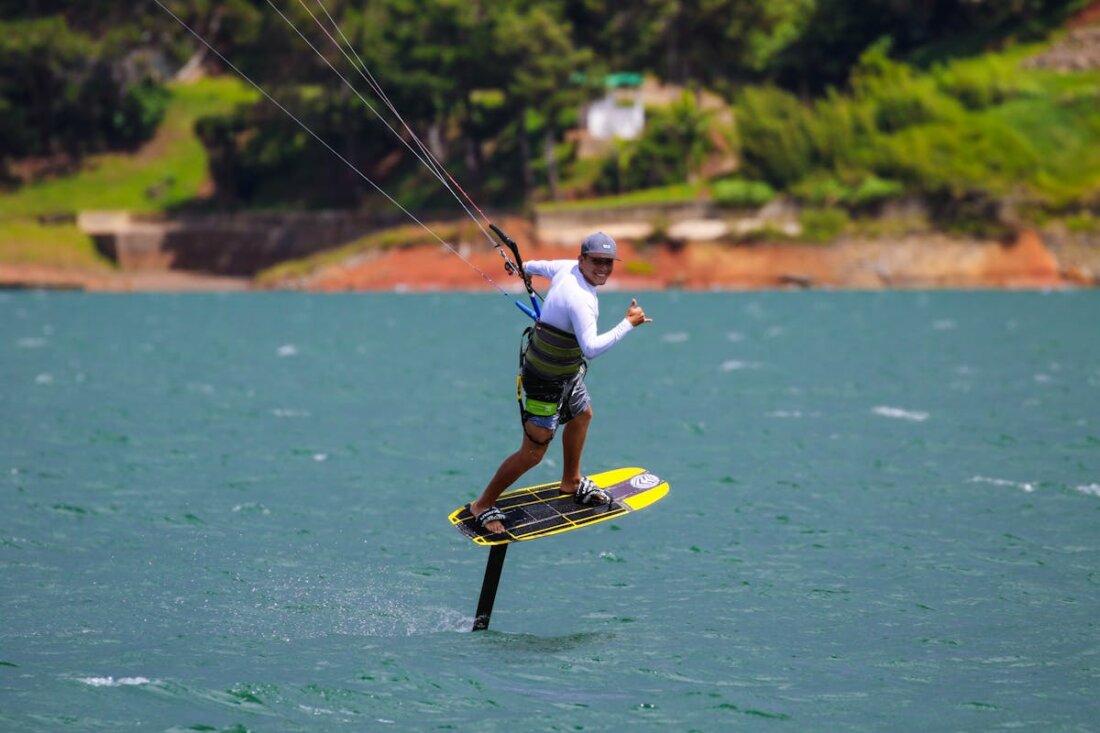
Kite Foiling for Beginners: How to Get Started on a Hydrofoil
For years I resisted foiling. My twin-tip was my comfort zone, and the foil riders at Lake Garda looked like they were either gliding effortlessly or face-planting spectacularly. Then one 8-knot afternoon, when everyone else was packing up, I watched a foiler cruise past at 20 knots on a 15m kite. That was the moment I decided to learn.
Why Foiling Changes Everything
A hydrofoil lifts you above the water on a carbon or aluminium wing, dramatically reducing drag. The result: you can ride in half the wind you’d need for a twin-tip. Those frustrating 8-12 knot days? They become prime foiling conditions. At Lake Garda, this means I can ride practically every day from May through September, not just when the Ora or Pelér cooperates.
The Gear
A foil setup consists of four parts: the mast (60-90cm for beginners), the front wing (determines lift and speed), the stabiliser (rear wing for balance), and the fuselage connecting them. For starting out, choose a shorter mast (60-70cm) and a large front wing (1000+ cm²) for stability and early lift.
Budget roughly 1,500-2,500 EUR for a quality beginner setup. Brands like North, Duotone, and F-One all make excellent entry-level packages. Don’t cheap out on the foil – a quality front wing makes the learning curve significantly gentler.
For kites, you already have what you need. Use your existing quiver but size up by 2-3m. My 12m kite for twin-tip riding becomes my foil kite, and my 15m (which I barely used before) is now my light-wind foil weapon.
Learning to Foil: My Process
Session 1-2: Board starts. Practice water starts with the foil board, keeping the board flat on the water. Get used to the weight and the different stance (more centred than a twin-tip). You’ll feel the front wing lifting – resist the urge to pull up. Just ride flat.
Session 3-4: First flights. Slowly shift weight to your back foot and let the board rise. The moment the board lifts off the water is magical – and terrifying. You’ll overcorrect, crash, repeat. The key is small, controlled inputs. Think of it like balancing on a ball.
Session 5+: Sustained flights. Once you can maintain height for 10+ seconds, it clicks. You start feeling the foil rather than fighting it. Speed control comes through weight distribution and kite position. The crashes become less frequent and less dramatic.
My Top Tips
Wear an impact vest and helmet – foil crashes at speed are no joke. Learn in flat water with consistent wind (Lake Garda’s Ora, Tarifa’s Poniente). Start upwind of an empty area. And critically: take a lesson. A good instructor saves you weeks of frustration and protects your gear from unnecessary crashes.
Frequently Asked Questions
Can beginners learn kite foiling without prior kitesurfing experience?
Technically possible, but not recommended. You should be comfortable riding a twin-tip in both directions, managing your kite one-handed, and performing self-rescue before attempting to foil. Foiling adds complexity – managing height, speed, and balance simultaneously – that’s much easier when kite control is already second nature.
Is kite foiling dangerous?
The foil’s wings and mast are sharp and move at speed, so crashes can cause cuts and bruises. An impact vest, helmet, and booties are essential. The biggest risks come from shallow water (the mast can hit bottom) and crowded spots (foilers need more space). Choose an uncrowded spot with deep water for learning and always keep distance from other riders.
What wind speed do you need for kite foiling?
That’s the beauty of foiling – you can ride in as little as 8-10 knots with a large kite (15-17m) and a high-aspect front wing. Comfortable foiling happens in 12-18 knots, where you have good power without being overpowered. In stronger wind (20+ knots), foiling becomes extremely fast and is best left to experienced riders.
Image source: Pexels / Bruno Menezes